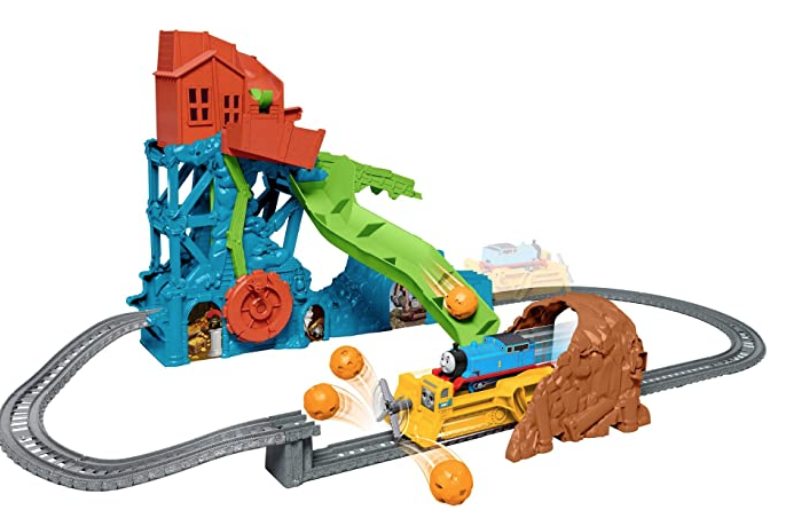
Save 54% on the Fisher-Price Thomas & Friends TrackMaster, Cave Collapse at Amazon right now.
It’s $22.90. List price is $49.99.
Hurry! This deal could end at any time.
Free shipping with Prime or when you spend $35 or more.
Save 54% on the Fisher-Price Thomas & Friends TrackMaster, Cave Collapse at Amazon right now.
It’s $22.90. List price is $49.99.
Hurry! This deal could end at any time.
Free shipping with Prime or when you spend $35 or more.
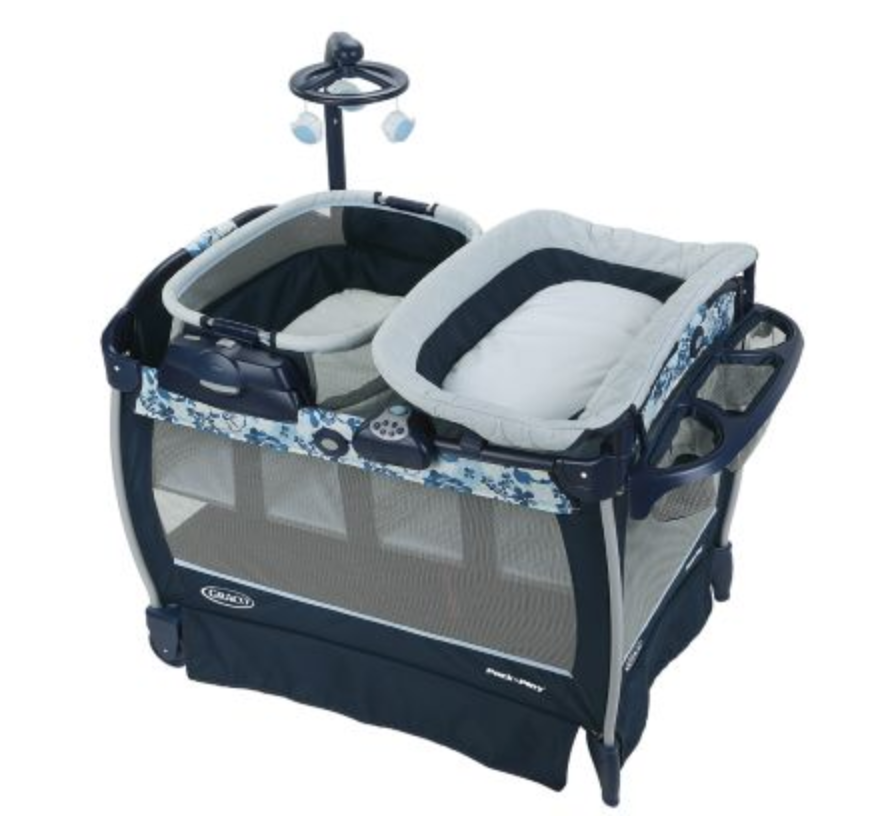
Save 40% on the Graco Pack ‘n Play Nearby Seat Playard right now at Graco Baby.
It’s over $100 off at $184.99 after the discount (orig. $309.99).
No coupon code necessary. You’ll see the discount in your cart.
Free shipping.
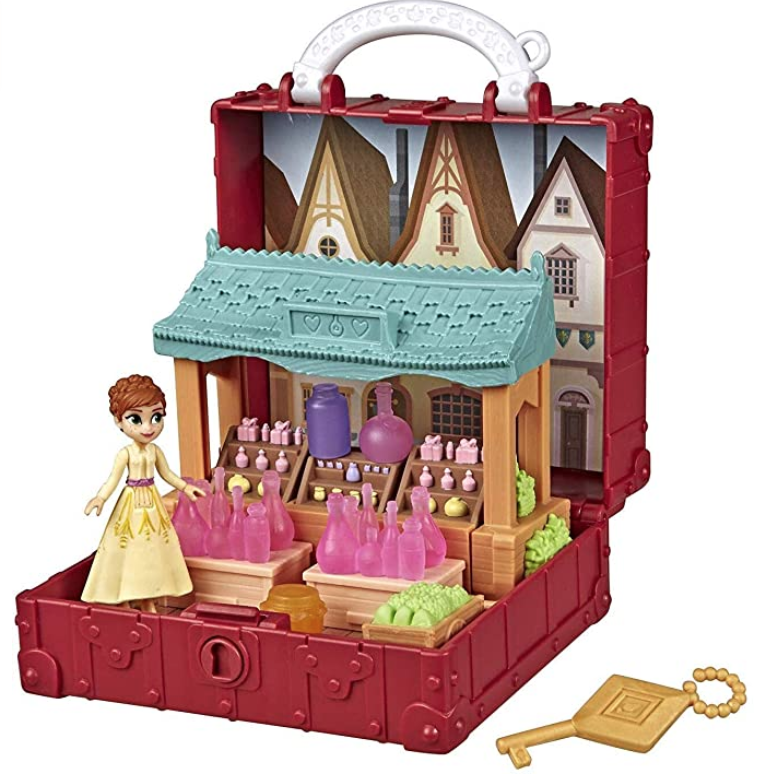
This Disney Frozen Pop Adventures Village Set Pop-Up Playset with Handle is 33% off right now at Amazon.
It’s at its lowest price ever at $9.99. List price is $14.99.
Hurry! This price could change at any time.
Free shipping with Prime or when you spend $35 or more.

Take 30% off select items at Ergobaby online, like this Omni360: Cool Air Mesh.
Use code MOM at checkout through May 10.
Free shipping on all orders.